How to Restore Broken Deer Antlers

How to Restore Broken Deer Antlers:
Well hi!
If you've found your way to this post, you've probably broken a set of deer antlers...sorry to hear that.
If you've found your way to this post, you've probably broken a set of deer antlers...sorry to hear that.
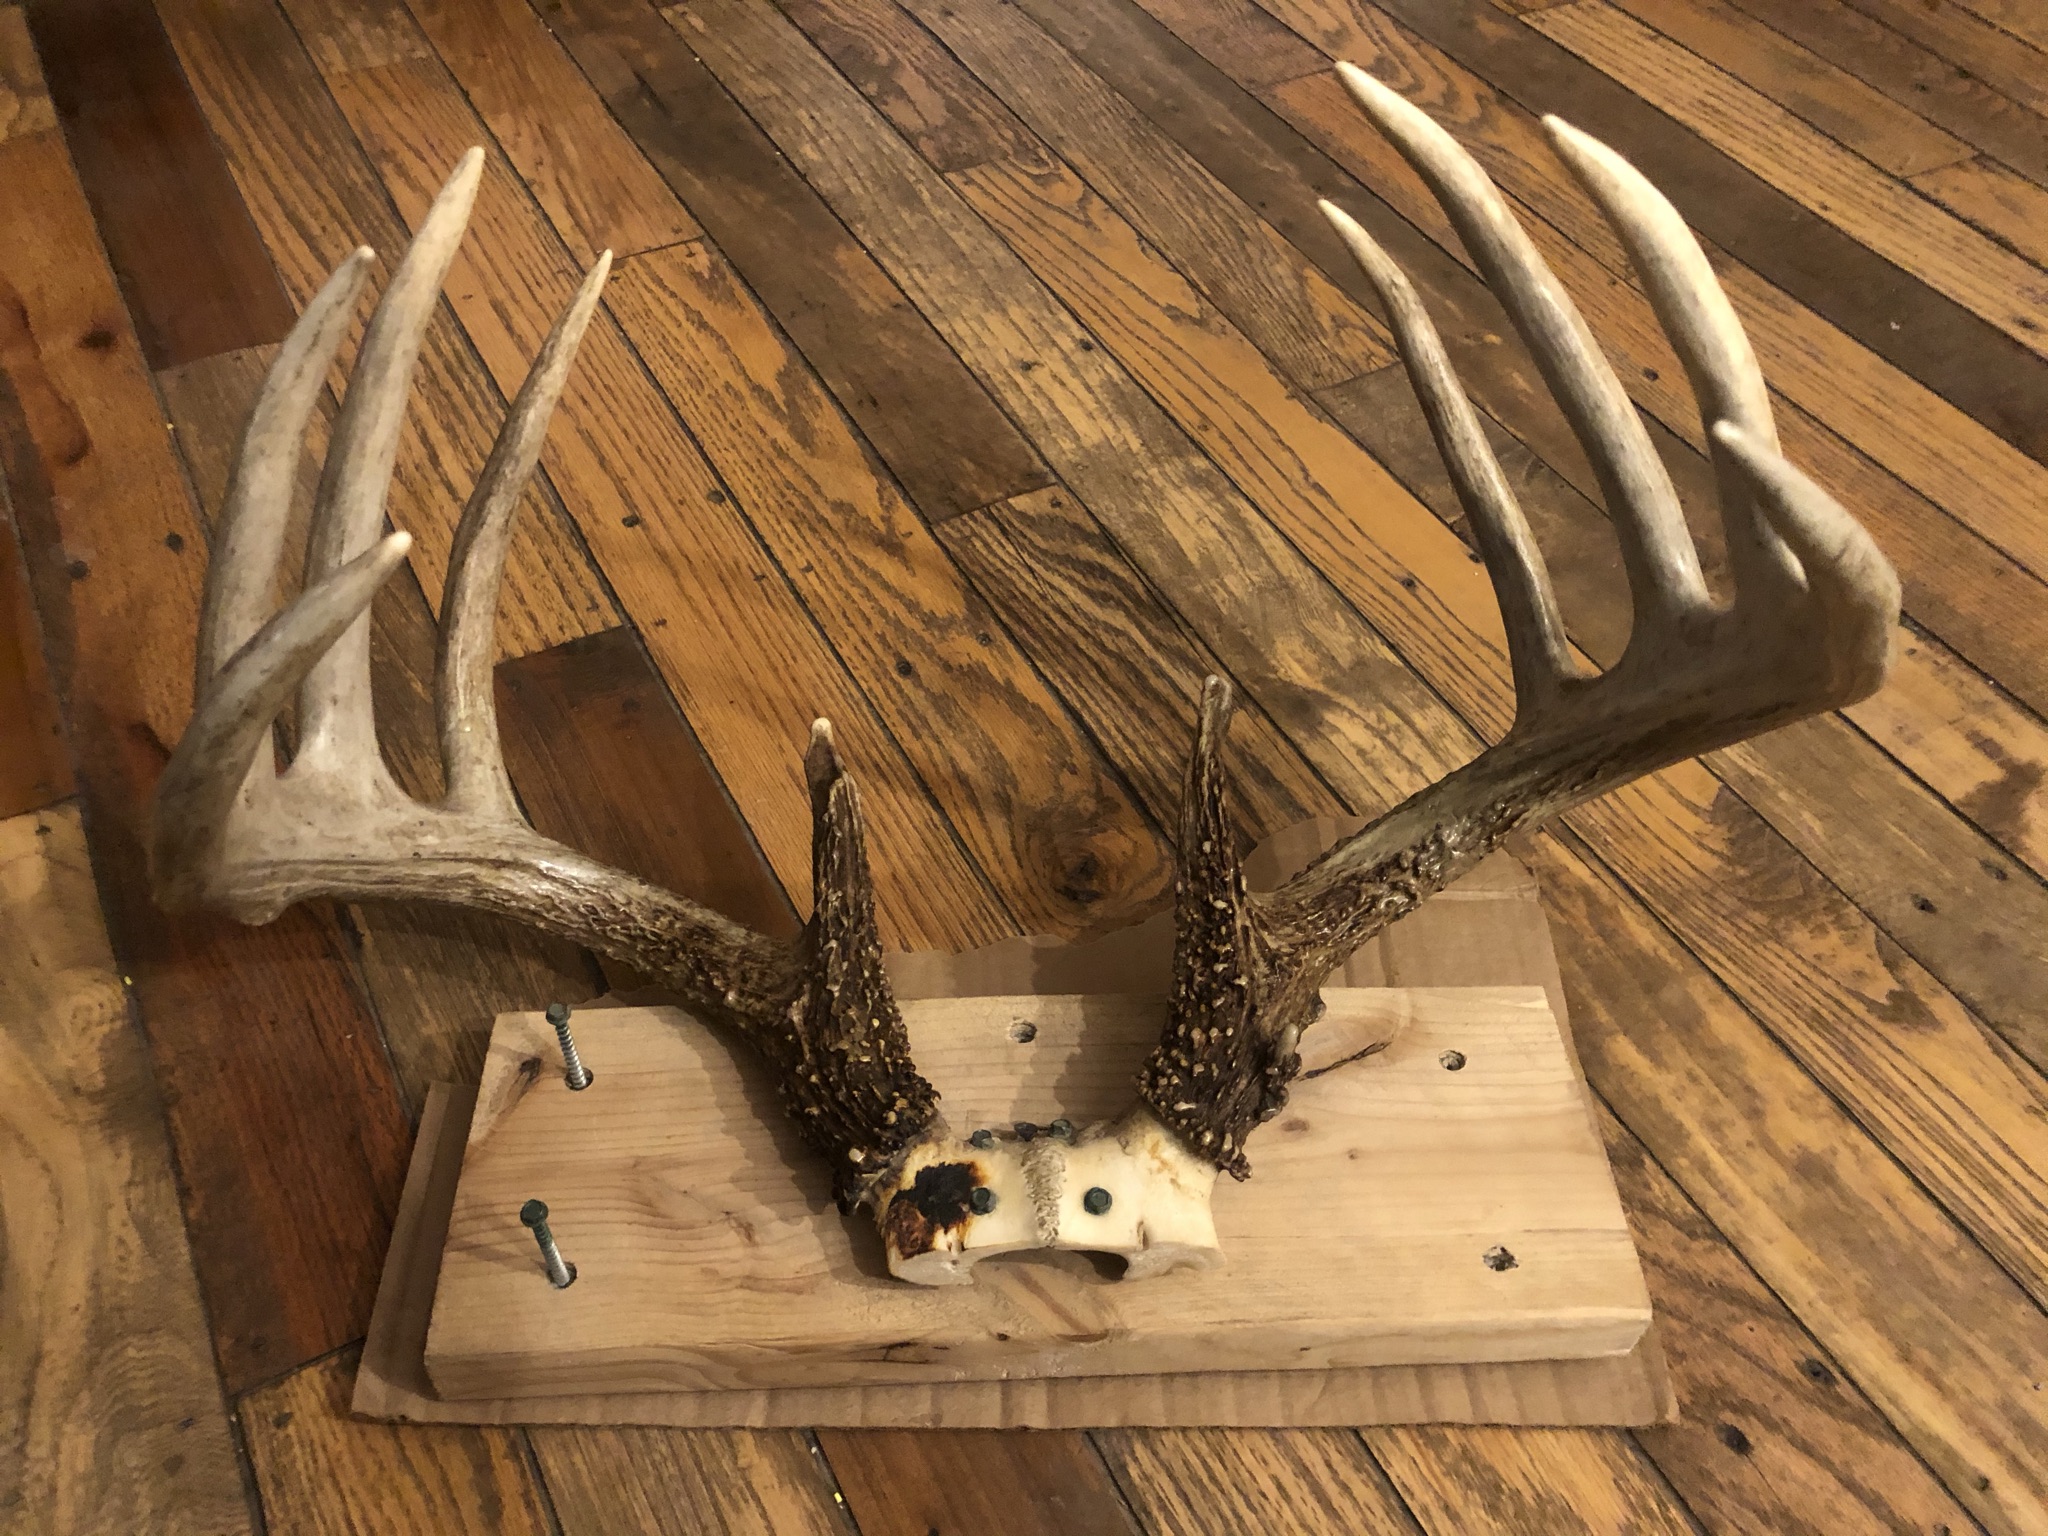
I ended up with these antlers because the owner had accidentally broken them during a move. They've been sitting, broken, in a closet ever since. They ended up coming home with me so that I could do my best to put them back together. And I think I did a pretty good job.
This fix isn't perfect, but it will definitely be passable and durable.

The first thing I had to do with this set - is clean, clean, clean. Unfortunately - the owner decided to use gorilla glue to fix it. I ended up having to spend two days removing the expanded adhesive to get the two pieces even close to connecting properly.
I used 100% acetone to soak it for 15 minutes at a time in an effort to break down the gorilla glue. That kinda worked. After I got what I could removed - I sanded the rest.
There was also a HUGE chunk missing on the back of the antler base where the owner had put a screw through and broke a piece out of the bone. I didn't have the piece so I needed to improvise a bit there. I'll get to that part shortly.


Now we get to the interesting, not so fun part.
I had to drill a fairly deep hole in each side separately all while trying to get the perfect angle to fit a metal dowel in both sides while lining the two pieces up. This took some doing and a few tries.
However, once I got the fit right I didn't waste any time and used an E6000 adhesive to secure the metal dowel to one piece. After it dried for a day, I glued the doweled side into the base and propped the whole thing up in a place where no one could tip it over. A couple rounds of painter's tape helped keep the antlers from moving as well.
It took a good day and a half - nearly two days for the E6000 to cure fully, so I found something else to do for a while. Finding something else to do wasn't difficult since my house looked like a tornado had blown through.
**After the glue cured, I drilled a pilot hole in the back of the top antler section that went into the bottom antler section, then I used a 2" trim screw to suck it together for extra support. The owner had said that after he tried to mend it, he hung a gun on the antlers and broke it again - so the trim screw added extra strength in case something gets hung on it again. This is NOT a regular screw...do not use a regular screw if you do this. And don't forget to drill a pilot hole.**

Now, I used filler because I wanted to be able to sand and shape the fill. I wanted it smooth in some places and bumpy in places it's supposed to bump. Wood filler allowed me to do that. I could basically build my bumps and sand them smooth.
The only downside is that I didn't quite get the color matched the way I wanted to. SO, I get to fix that later on.

This next image is of the front of the antlers. The crack has been hidden as well as it could be and I'm starting to match the browns the best I can. It is not perfect - it will never be perfect - but it is fixed.

Here is another picture of the sanding and color blending process. LIKE I SAID - it is not perfect.
This is from the big chunk in the back, so luckily this section will be hidden at all times. Still, I'd like to get it a little closer than this.

After I blended the colors to the best of my ability
(and resources - I'm about out of paint around here)
I sealed up the base of the horns to give it a little bit more contrast and bring back the natural shine they used to have.
The owner is going to mount them on a metal skull so the damaged skull cap will not be a problem.
So, I'm sure there are other ways - perhaps even better ways - to fix deer antlers, but this was my way. It was the only way I could think of with what I had to work with. I hope it lasts for years to come and holds up a rifle just fine.
In the meantime - check out some of my other projects on the blog!
*Don't forget to subscribe for future posts and updates*
For a how-to on preserving deer tails, check out my tutorial here:


Comments
Post a Comment