How To Stain Wood With Acrylic Paint | Woodworking DIY
~This post contains affiliate links~
Hello!
I've been working on some painted wood orders lately, and with these orders, I may need any color of stain imaginable for the background.
Well..have you ever tried to find the color you NEED in a hardware store? I can usually get close to it, but I prefer to make my own. That way I can tweak it until it's just right.
This tutorial is to show you how I make my wood stain with acrylic paint. It's SUPER easy.
Things you will need:
- A piece of wood (obviously)
- Any color acrylic paint of your choice
- Something to mix your paint in
- A rag
- Napkins
- Water
That's it :)
IF YOU WANT TO SEE THE OUTCOME OF STAINING WITH FOOD COLORING: Lil Vardo, Part 2
First things first - find an area you don't mind getting a bit messy. I am fantastic at making a mess on surfaces I shouldn't.
Next thing - grab your paint! I needed a reddish-brown..so I picked red and brown:
Pour out a good amount (about a 50-cent piece-sized glob) of paint into your container. I used a plastic plate so I can just throw it out when I'm done. Add about a 1/3 cup of water (I used a pink plastic teapot to keep it fancy) and mix until well blended (especially if you're using more than one color):
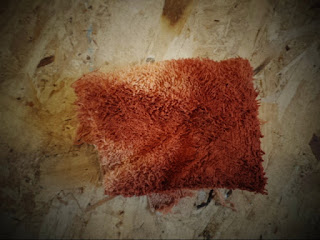
Next - grab your rag and blot up some of your watered-down paint:
(yes, I know, it looks like a murder cloth...I assure you it's paint.
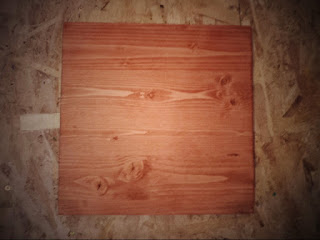
Wipe it across your piece of wood from side to side with the grain. If you can't tell which direction the grain is going (it happens) follow the direction the lines are running in the wood. BEFORE it dries after the first coat, run a napkin across it to sop up any standing liquid to prevent it from warping your board. You don't want a warped board. Too much water will cause this to happen.
Keep layering the "stain" and wiping down after each coat until you've reached the shade you're after. Let 'er dry, and you're done!
It's that easy!
Try some greens and blues, you'll be surprised at how beautiful they turn out!
Add some metallic paint for some extra shimmer!
Here are two of my finished orders with the acrylic "stain" wash:
This fellow had a much deeper wash and was sanded on the edges, then washed again to give it a weathered look:
Would you like to try making your own cheese next?
Give it a try here:


This guide is very helpful for many people. Keep doing Nice work. gardenreviews
ReplyDelete